Thursday, February 26, 2015

Oatmeal Raisin Cookies as Muffins? Yup!

Now that all the peanut butter crack squares are gone I'll be back to enjoying the oatmeal raisin cookies I made.  I have been limited with how I can bake cookies due to only having one small baking sheet.  I have been playing around with making cookies in muffin papers and I think it's brilliant.  I made some chocolate chipper cookies awhile back using the muffin tin and papers for the first time.  They turned out good.  I find I eat less of them because I tend to only eat one at a time instead of 2-3 like I might do with cookies.  Plus, you can prepare a bunch of them ahead of time while you are baking so you can quickly just pop out the hot ones and reload with more dough and back into the oven.

Get yourself organized.  I love to gather all my things before I start a recipe.  It is easier than looking around for things as you go and I am less likely to miss an ingredient.  I tried to make bread without adding yeast once, not good.


Cream the brown sugar and margarine together.  They should be a nice light fluffy brown colour.


Add the eggs, one at at time, until they are well incorporated.  I would normally do this part in my stand mixer but it is in a train yard here in Mississauga waiting to be delivered.  I'm scheduled for tomorrow so I'm pretty happy about that!  My arms can't take anymore hand beating with just a whisk! It's barbaric!


Now you can add in all the dry ingredients.  Start with the flour, cinnamon, salt, and baking powder.  Mix those into the brown sugar mixture until just combined.


Now add in all the oats and raisins.  Don't get scared, it will look like it will never combine but it will, trust me.  My arm was burning and sore after working this all in.


See?  All good.  Now start scooping out those cookies for baking.


As I said, I have been using muffin papers and baking cookies in muffin tins.  This works really great.


The next batch is on standby.


OOOOOH Look at those!


Pop them out of the tin and set them aside to cool.


Soft and chewy.  I keep these in the freezer.  I can pop them straight into my son's lunch box in the morning or we can eat them straight from the freezer.  You can also zap them for 10-20 seconds in the microwave if you want them hot and gooey.  I personally like them cold and chewy, sort of like the cookie dough bits they put in ice cream.


Tonight for supper, I'm making chicken in Thai green curry with Jasmine rice and Parmesan asparagus so watch out for that tomorrow!

Peanut Butter Marshmallow Squares ~ Better Late Than Never

As promised here is the peanut butter crack.  These are so good, Phoenix and I just finished them off last night.  And by Phoenix and I mean me, I finished them off last night.  A part of me is happy they are gone because I won't be eating massive amounts of extra sugar but really I'm just sad.  Sad they are all gone and I want to make more right now!

Gather your ingredients.  I used just the plain white mini-marshmallows but these are often made with the rainbow coloured ones.  They taste a bit different, you be the judge.  Already, you can tell already this is going to be good, right?!


Now mush them all up together in a pot and heat over medium to low heat.  You need to find that sweet spot.  You don't want to be there all day but you don't want to burn anything either.  It will look like a hot mess but it comes together pretty quickly once it gets going.


Once you have a smooth sauce-like consistency, add in your mini-marshmallows.  Make sure the sauce isn't hot or you'll melt your marshmallows.  Let it sit a bit if it is.  I found that right at the time the last of the butterscotch chips melted it was still cool enough to add the marshmallows.  You will need to have a pan ready to let them sit and chill because at this point you need to turn them out.


Oh look at that beautiful treat!!  Chill for about 30 minutes (or as long as you can stand to let them just sit there without eating them), cut into squares and enjoy!


Eat, eat all the squares!  I kept mine in the fridge because I used margarine that was soft at room temperature.  If you use butter you can probably leave them out on the counter instead of in the fridge but I found they got a bit too sticky to handle/eat.  I also loved the cold to melty feeling you get when they come straight out of the fridge.  Those little puffs of marshmallow are heaven!


I did warn you that they are additive.  I got the recipe from here.


Tuesday, February 24, 2015

Onion Balsamic Chutney for Baked Brie

At Christmas my sister made an apple/fruity chutney of some kind to have with baked brie at my Mom's.  It was a huge hit.  Very tasty, we ate way too much but it was that good.  I might have to get that recipe she used because I would totally make it again.  Anyway, because I didn't have that recipe or most of the ingredients (I had one apple, haha) I looked up another chutney recipe.  I have a lot of onions so I thought onion would probably be the way to go.  I found a balsamic onion recipe here.  I didn't have red onions so I used yellow.  I also didn't have red wine vinegar so I used regular vinegar instead.  It was still good.

Here is how I did it:

I used 2 large onions which worked out to about half of the recipe I followed.


Get them starting to caramelize in a pot.


Gather your ingredients.


I mixed up the vinegars and sugar so it was ready to just go in.


Throw the bay leaf in with the onions.


And some dried chili flakes.


The onions will soften, keep going until they start to change colour.


I was running out of time so I threw the brine in before the onions were really dark and sweet but it was still really good.  Cook for another 30 minutes to allow the brine to thicken some.


Prepare your Brie for baking.  I just took the top of the rind off since I don't have a brie baker.  The rind helps to hold the gooey cheese in so I make a sort of bowl by just taking off the top.


I baked the brie for about 15 minutes at a high temperature because I was already using my oven to make spring rolls.  Do what you have to get it done.  We had this with crackers, olives, spring rolls and chicken wings done in the Actifry.


Looks yummy, right?  It was!


Oh my, what a hot mess but so good!


Poor Phoenix was sick with a fever and missed out on most of this but we did save him some.  We were in the middle of The Fast and the Furious so this snack type meal was perfect for munching on while watching TV.

Cinnamon Buns and Where is Spring?

Yesterday was very cold, VERY cold!  I survived, I pet kitties, I read my book, I rode the bus, but mostly I froze.  Phoenix's school bus didn't come.  What is with the school buses? They seem to be pretty unreliable which is complete garbage since there are kids sitting out in the cold waiting for them.  They have a website for bus statuses but it is never accurate for his bus.  I don't get it.  I just hope it gets warmer soon.  Spring is still a thing right??

I spent an hour on the treadmill again yesterday.  Honestly, the internet is the best workout buddy!  With all the baking I have done and good foods I have been making I need to spend more time on it, the treadmill not the internet.

Here is my treadmill set up with some random YouTube video playing on my iPad to keep my mind busy so I don't get bored.  Love it!


I will put up the Brie and Chutney I did on the weekend but I'll do it in a separate blog for simplicity.  I'll be posting those peanut butter marshmallow things tomorrow.  Damn, they are so good.  I can't wait until they are all gone I just wish someone else was eating them because I eat them all the time! It's a problem.

Here is how I make Cinnamon Buns.

I use the extra dough from making bread but you can make up dough just for this if you want a lot of them.  This is my bread recipe Mom's Bread and here is how I make it.


Gather what you need.  This is pretty simple I just use cinnamon, brown sugar, and butter or margarine.  You can also add nuts or raisins if you like.


Get our your rolling pin.  Try to make a rectangle that is about 1 cm thick more or less.


Using your hands, smear the entire rectangle with margarine.


Next comes the brown sugar, leave some room on the end so you can seal the roll up easier. 


Now the cinnamon, you can go a little nuts with this if you like cinnamon.


Now start rolling.  Once you get to the end you can pull the dough and wrap it up over the end to make it stick better.


Like this.  Now you are ready to start cutting your rolls.


Butter your pan so it's ready to go. 


You can just use a knife to cut the rolls but if you find that is too hard you can use thread or dental floss.  Just work the floss under the roll, cross the ends you are holding and pull and you'll have a nice cut roll without the tearing or squashing from the knife.


Let your rolls rise just like the bread.


Bake them until they are just golden on top.  These are best eaten warm right out of the oven but you can heat them up for 20 seconds in the microwave to get the same warm and gooey buns if needed.


Be sure not to over bake them or you'll have hard buns that will stick to your tray.  Not fun!  Alternately, you can use a cinnamon and sugar butter to grease your tray and it will make a glaze on top of the buns when you turn them out.

Monday, February 23, 2015

Kitties and Bread

Today is the day I start reading to kitties! Who else is excited? Just me? Ok!  My journey to the shelter will be a long and freezing cold one. -33C with the wind chill today... wtf, serious the normal temperature this time of year here is 1C as the News keeps telling me.  Anyway, the trip to the shelter on the bus involves changing buses at the main terminal so that will be interesting.  I'm a bit nervous about it and I have a 15 minute wait at the terminal for the next bus so I'm sure I'll be a popsicle by the time it arrives but I shouldn't miss it, fingers crossed.  Also, another opportunity to use my PRESTO card.  Makes me feel like I know what I'm doing (I don't). LOL


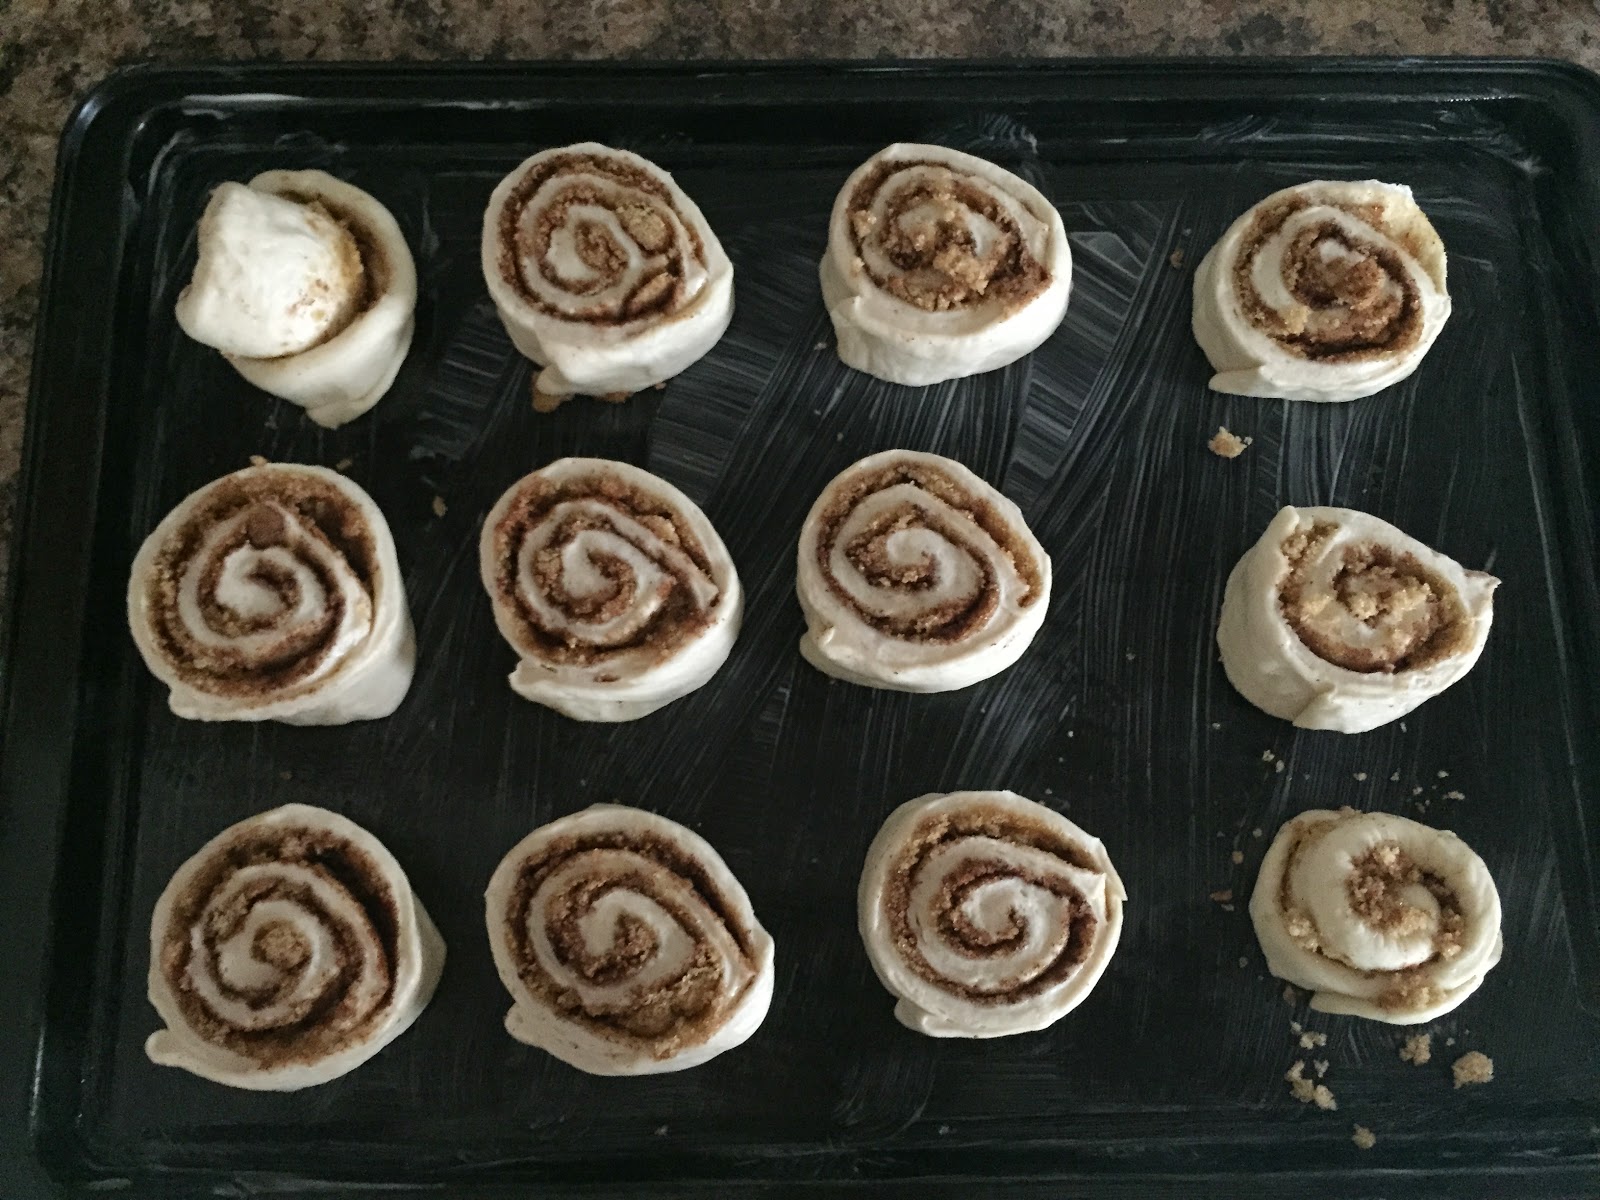
I pretty much moved into my kitchen on Saturday and didn't leave for hours.  I have been making bread and I needed to make up a fresh loaf for this week.  I always have extra dough when I make bread.  Last weekend I made up buns with the extra and this week I made cinnamon buns.  I also made those peanut butter, butterscotch, marshmallow things, in other words sugar crack.  We also baked a brie with homemade onion balsamic chutney to top it, we had wings in the Actifry, and I made oatmeal raisin cookies.  Finally, I mixed up my favourite pancakes for breakky Sunday morning.  We were busy!

Let's start with the bread.  I used a modified version of this recipe Mom's Bread.  I halve the recipe.  I have these over sized bread pans I bought in Europe so I need more than one loaf worth of dough just to fill it, plus I like the extra.

To start:

I have gotten into the habit of blooming the yeast.  This is super easy plus all the cook kids are doing it.  Get all the warm water for the recipe into a nice big bowl.  If you make it too hot you'll kill the yeast so it just needs to be a bit warmer than room temperature.  Add in all the sugar and yeast and stir it up.  Let it sit for 5 mins or until it starts to look like this.  Kind of gross looking but necessary if you are using traditional yeast like me.  If you are using quick rising or bread maker yeast you don't need to let it sit.  Just add your next ingredients in.


Now you can add in the rest of your ingredients (oil and salt) and about half the flour.  I do this about 1/2 a cup at a time until my arm feels like it is going to fall off and I have a sticky lumpy mess sort of forming a ball.  Liberally flour the counter and keep the rest of the flour nearby.  Knead the dough using enough flour to keep it from sticking to your hands.  If you put too much flour in at a time you'll get crumbly and tough bread.  Go slow and gently.  It's just dough you don't need to rough it up and this is not to the time to take our your aggression, be nice.


It should look something like this.  It shouldn't be leaving bits of dough stuck to you or the counter but it should be a bit tacky still.  If you add too much flour you'll have a really tough dough that is like playing with hard play-dough, not good.  Add 1 - 2 tbsp flour or so at a time when your dough is getting close.  Better to be light on flour than too much.


When you have your dough ready, you need to let it rise.  I put it in an oiled bowl to keep it from sticking or drying out.


Turn the dough to coat the top and swirl it around the bowl to coat everything in a thin layer of oil.


Cover in plastic wrap, cover with a towel and let rise in a warm place.  Not too warm or it will taste like beer, not good.


Once your dough has risen to about double (takes about an hour) and looks like below you are ready.


Punch the dough down to release some of the big air bubbles.


Gently shape the dough into a log.  Squish out the big air bubbles if you see any.


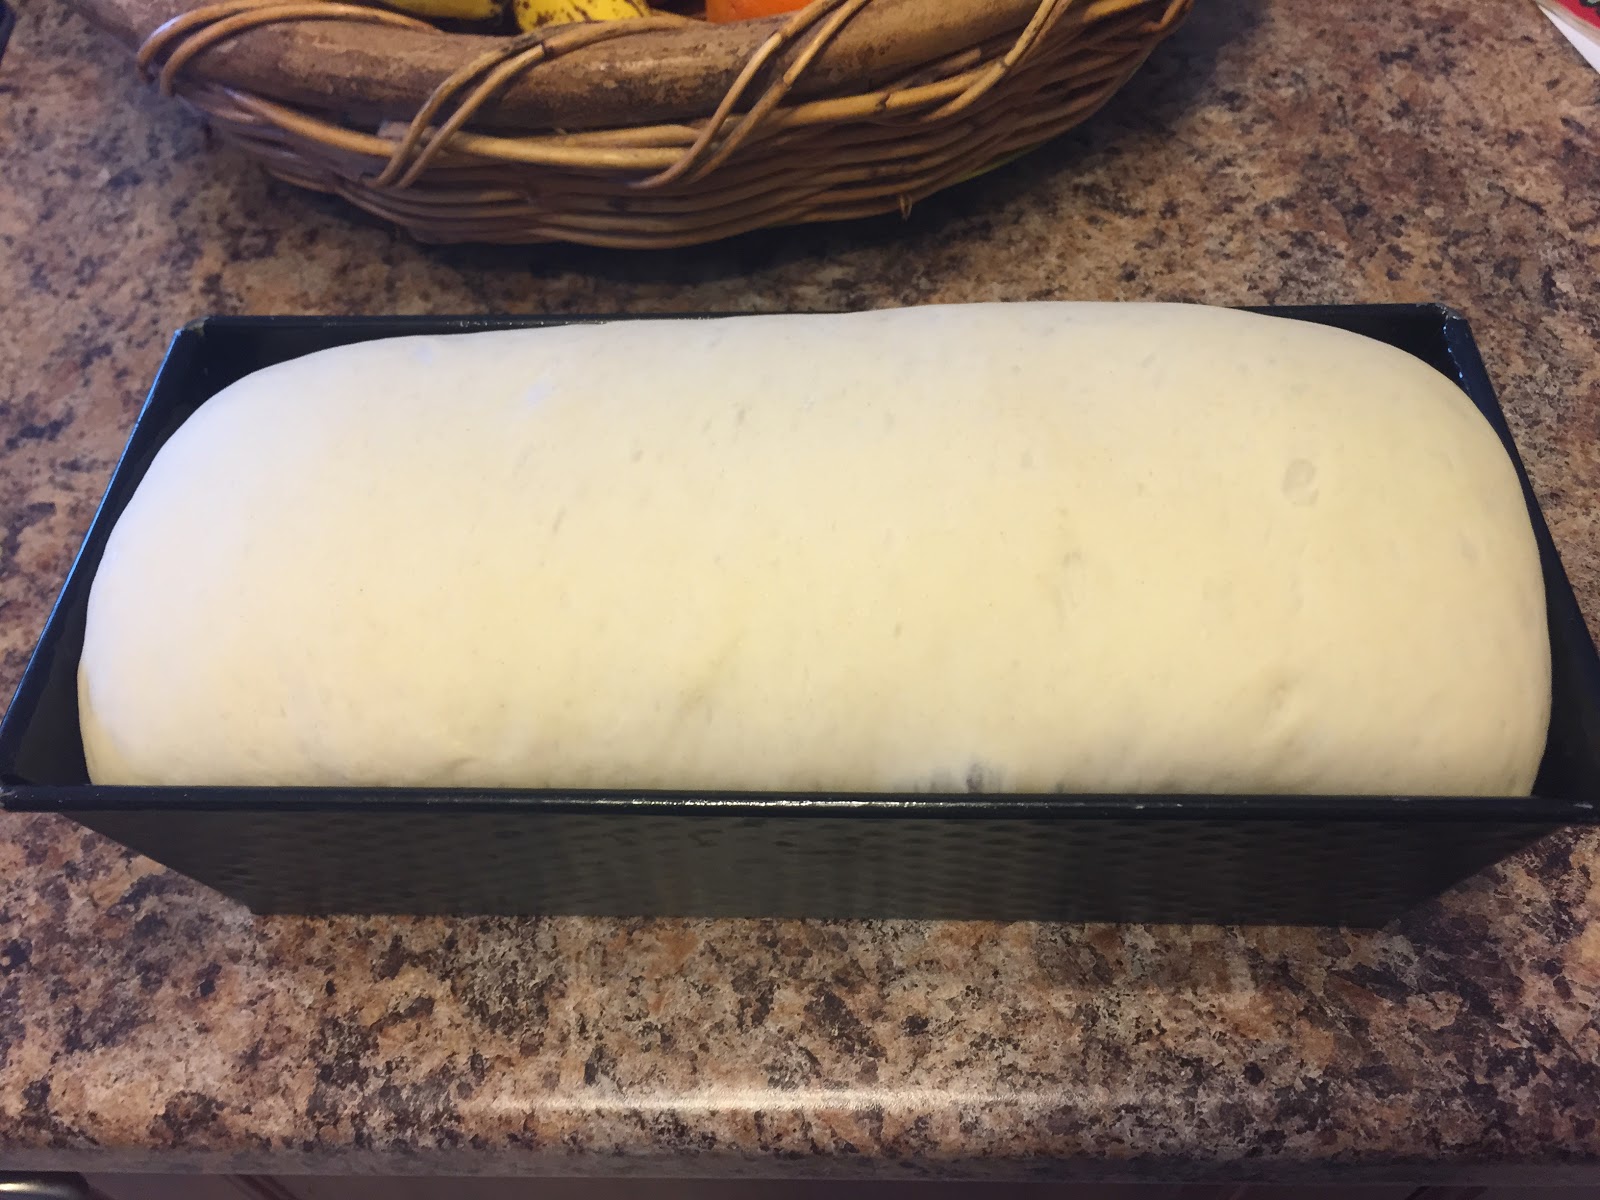
Measure up the dough against the pan and chop it with a knife. I tuck the ends under and shape it a bit better so I get a nice smooth loaf.


Cover again with the plastic wrap from before and a towel.  Let is rest for another 20-30 mins.  Be sure to grease your bread pan so the loaf doesn't stick. 


Now it's ready to bake!  I go by the colour of the bread to know when it is done and it should bake about 25 minutes in 375C until it nicely browned.


Ah, nothing better than fresh baked bread.  I turn it out of the hot pan immediately.  If it isn't quite browned on the bottom I stick it right back in the oven for another 5 minutes.  Once it's done turn your loaf out onto a towel.  It needs to be turned every so often to prevent the heat making the loaf soggy (yuk).


Tomorrow, I'll be posting the Cinnamon Buns and maybe the baked brie and chutney.  Man, it was so good!