Wednesday, April 8, 2015

Tangy Slow Cooker Pork

I must say up front that this was not my favourite recipe. It had all the components of recipes I like. It was easy, it built up flavour, and it had familiar ingredients. In the end, it was missing something for me. I would make this again but I would change it up and add more spices. I pulled this recipe out of a random cookbook on my shelf as part of my desire to cook from the books I already. I would say this was a 6/10 for me. My family liked it, however, so maybe it was just me.

Start with a seasoned flour coating for your pork roast. This was just salt, pepper, and paprika.


Heat up a bit of oil in a pan. This is to build the crust.


There is the star. This is a very lean cut of pork, as you can see, and but it takes flavour really well. It is pretty much a blank slate to be built upon.


Cover your roast completely in the seasoned flour.


And start browning. The heat should be high enough that you get a nice golden colour but don't let it burn. Make sure to get some colour all over.


Prepare your veggies. They just get a fine dice and set aside for now.


Keep turning your roast.


Nearly there!


Now for the sauce. Move the roast to the slow cooker and add the veggies to the hot pan. Soften the veggies and add a can of tomato sauce. Slow cook for 5 hours.


After 5 hours, the sauce comes out thick like a gravy.


The meat is very tender.


I served this with mashed potatoes. My secret weapon for mashed potatoes now is to use buttermilk. Do it, you will LOVE the extra zip and creaminess.


I think in the future I would add sugar to the sauce as I found the tomato flavour to be a bit on the bitter side. It was good but not exactly what I was expecting.

Tuesday, April 7, 2015

My Favourite Salad

About five years ago I went on a weight loss journey. A major weight loss journey. 80 lbs later here I am a fitter, lighter, happier version of my former self. I blame good foods and no self control for all the extra weight I was carrying. The thing was, most of the foods I was eating regularly didn't even taste good to me any more.  They were satisfying my fat and salt cravings and they were really easy to make.

This salad became part of my weight loss repertoire. I made and ate this salad for days on end and never tired of it. It's salty, it has healthy fat, it's crunchy, and most importantly it's tasty! With very little prep you can have a weeks worth of lunches and sides for supper in your fridge. It takes the pain out of deciding what to eat for healthy eating.

One of the key components to this salad is the dressing. You can find the recipe here. This recipe makes a lot of dressing. Make it in a jar and keep it in the fridge. I use this dressing on everything, it's that good.


Healthy olive oil makes this recipe good for you and satisfying.


Shake it up and keep it in the fridge. Shake it gently or the oil will solidify. If that happens to you just be sure to take your dressing out 10 minutes ahead of serving to let the oil warm up to room temperature again.


This salad is usually made with cabbage but I'm using romaine this time.

Now the veggies. Use whatever you have. I like to make this to the recipe but the dressing is really what makes this. The salad is just there because drinking salad dressing is gross. Haha. One thing to be sure to get is the bean sprouts and red onions. The rest is very flexible. If you are making this salad for the week keep back the watery veggies like the bean sprouts and tomatoes. Add them just before you eat to keep your other veggies from getting soggy.


This salad is tasty, beautiful, and HEALTHY. It is surprising how good it is for you.


I would normally eat this salad as a meal or with lean protein. I served it along side Sarah's Slow Cooker Pork for a fresh hit of clean flavours. The salad dressing is even good on the rice. Seriously, you will find so many places to use the salad dressing, it really is the star of this salad.


Thursday, April 2, 2015

Veggie Pancakes?

When I was staying with John and Chrystal last year, John's mom came to visit. She cooked some really great food. This dish was my attempt to recreate one of her dishes. I didn't even come close but this still tasted pretty good. I will get the real recipe and try again some day but these satisfied my itch for them for now. 

Scrumptious. Salty, savoury, soft and chewy, crispy, and fresh. This dish is a sensory overload.


When this dish was made for me it was done with shrimp.  It was so good but alas, no shrimp in my house at the moment so I went straight up vegetarian.  I'm sure you could put anything in these and they would be tasty but I wanted to keep it kind of simple.  I only used mushrooms, green onions, zucchini and bean sprouts.


Now, this is where I went awry. I could not remember what was in the batter except cornstarch so I basically altered my crepe recipe. One egg, milk, and flour.  I wanted a really loose batter so it would be thin and cook quickly.


Cornstarch gives a really good crisp crunch in batters so it was the star here. I ended up using about two Tbsp because that is what pouffed out of the container and into my bowl. It worked for me.


If I remember correctly these were served with fish sauce and soya sauce. I like heat so I set out chili flakes so I would remember to add them. The fish sauce portion of this dish might have been mixed with something else. I am really not sure. My memory is my weakness.


To test my batter I fried a bit in some hot oil. It was sure crispy. I thought it would do.


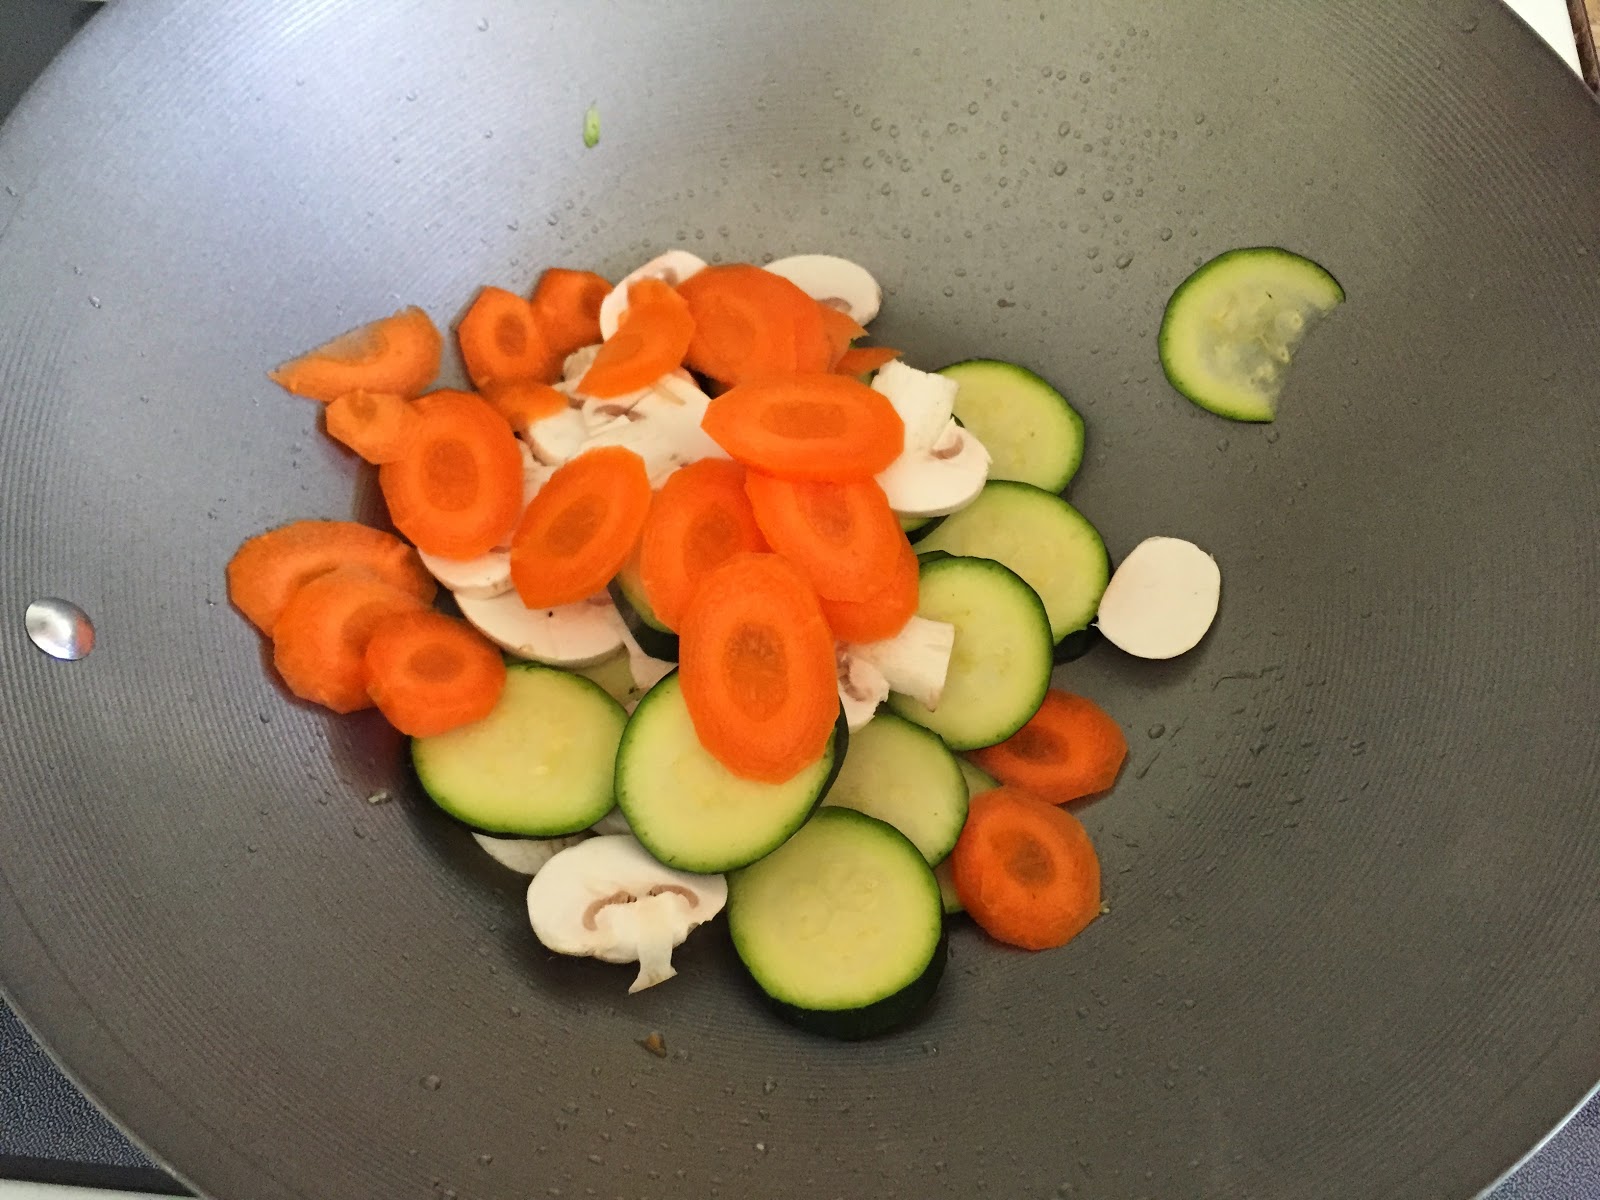
Time to get cracking. Add oil to your very hot wok, throw in your veggies. Cook stirring constantly until they start to soften.


Pour your batter right on top. Shake and tilt the wok so all the 'raw' batter from the middle goes to the edges to be cooked. It will form a big crepe looking pancake thing. Very technical.


Now the hard part, flip that whole thing before it burns without it falling apart. Cook the other side for a minute or so, checking often to be sure the bottom is not burning. Partially remove from the heat if your pancake is cooking too quickly.


Turn it out onto a plate and eat immediately. This was really fun to cook because I stopped to eat every one while it was hot. While it is still hot, splash soya sauce, fish sauce, and chilis on top then eat and enjoy. Add more sauce as required.

Because I was eating every pancake as I was cooking it, I experimented a bit to see if I could improve my technique. I tried batter in first and batter on top. Batter on top was definitely best. Plus, the veggies developed more flavour getting to cook a bit on their own first.


John's mom also made this really wicked curry soup and I still need to get the recipe. I love trying new foods, especially when they are this yummy!

Wednesday, April 1, 2015

Pad Thai at Home

I love food. This is something that you should know about me. I love cooking, I love baking, I love looking for new recipes and remaking my old favourites and of course EATING! I love trying new foods, especially favourites from other cultures. One of my all-time favourites is Pad Thai. My first experience with Pad Thai was from Thai Express, which I highly recommend.  But for those times you don't go to Thai Express and want to cook at home, here is a Pad Thai for you!

Looks good doesn't it?!


You will need some type of rice noodle.  This time I used the flat sticks but I like the long rice vermicelli best.


Get your pans ready. Hot water on the boil for the noodles and get your wok screaming hot.


This is where the magic comes from. If you look up Pad Thai recipes they have at least 20 ingredients. This is probably half of them!


The finishing condiments are very important for this dish. Thai Express will serve lime, Sriracha, and chopped peanuts on the side. I didn't have any peanuts but I added crushed chilies for extra heat.


Prepare your ingredients. One egg, beaten, big handful of bean sprouts, zucchini, green onion, and mushrooms. I made this vegetarian but you would usually have beef or chicken cut up very thinly.


I also added carrot, thinly sliced.


The water should be boiling, drop your noodles. These rice sticks will take a few minutes to cook so you'll want to start them first. If you are using rice vermicelli you will want to drop them closer to the end of the cooking time because they take way less time. You can also just pour boiling water over them and let them sit until you are ready to add them. The package will tell you the best cooking method.

Once the wok is hot, add oil, let it start smoking and add the egg. Using chop sticks move the egg around in the hot oil. It will form longish scrambled ribbons. As soon as the egg has started to set but is still soft (not runny though) move it back to its bowl. Don't worry if they aren't fully cooked, you will finish cooking them later.  The important thing is to not burn them.

Add more oil and then add in your longest cooking veggies.  In this case it would have been the carrots but they were sliced very thinly so I put everything in at once.  Keep back the green onion and bean sprouts.


Let the veggies cook a bit until they start to soften.


Next you'll add 6 Tbsp of the pad Thai sauce. Your noodles should be partially cooked if not mostly cooked by now. Add them now but keep their water to add to the sauce later if necessary. Add in the soft egg scramble and toss everything together. Sorry for the steamy photo here!


Oh my, look at that!  Once your noodles are completely cooked add in the bean sprouts and green onion. If your pad Thai is getting too sticky add in some of the cooking water from the noodles. The noodles will keep taking up moisture so add water as you go. I also like a bit of a saucier pad Thai so adjust to taste as well.


Time to dress the dish and eat! Add dried chilies, Sriracha, and lime. Serve with chop sticks and enjoy!


The most of the cooking time is taken up with the prep for this dish so make sure you get everything ready before you start your wok or you'll have something burn and it will not be nearly as tasty.

Tuesday, March 31, 2015

Making Yogurt

I have been obsessing over this book lately.  In it, the author tests which food products we should buy or make based on quality, effort, and cost.  I was very intrigued by the cheese section where she makes different cheeses.  Some of the cheeses she makes take a lot of time, special cultures ordered from a cheese making company and I'm just not up to that yet.  She also made yogurt.  It is so easy, I gave it a go.  To go with the yogurt the author made a lemon curd.  I'm not a huge fan of lemon but Chris and Phoenix are so I thought I'd give it a try.  To be honest, making the curd was the most difficult part of the yogurt making process.

First you need to get yogurt with active bacteria cultures.  It will be listed as an ingredient.  I used Activia.  It also happened to be raspberry since I didn't have plain yogurt.  The recipe calls for 1/4 cup of yogurt and 1/2 gallon of milk.  You can use any type of milk (even soy milk).  I used 1.3 L of 1% milk from the store (one bag as we buy it here).

Warm up the milk to just below a boil.  Let it cool until it is still warm but not too warm.  It should be about the temperature of water you would start bread yeast at so about 110 - 115 degrees F is recommended.  Stir in the store-bought yogurt (or yogurt from previous batch of home-made) and let this sit covered with a towel. Leave it over night in a warm place.

I had put this in my oven when it was still slightly warm after making bread.  I later decided to clean my oven and nearly cooked my yogurt to death!  After the mad scramble to get my yogurt out of the oven set to self-clean, I let my yogurt sit on top of the stove while the oven was being cleaned.  I put the pot on my spoon holder so it wouldn't get any direct heat as the top of my stove got pretty warm.

In the morning I woke up to yogurt.  It's hard to see but if you look around the edges you can tell the milk has solidified and is pulling away as I tilt the pot.


See the slight ripple on the surface?


You can eat the yogurt as is if you like runnier yogurt (like regular store-bought yogurt).  I prefer Greek style yogurt and I had a mesh bag from jam making so I drained my yogurt for a couple hours.  You can use a cheese cloth, clean pillow case, anything that will let the moisture seep out while holding back the solids.  Keep the whey that drains off the yogurt for making bread.


Over time you will get quite a bit of moisture come off your yogurt and it will then settle and separate.  I kept the whey in the fridge (for about a week) and just recently used it up making bagels, buns, and sourdough bread.  Refrigerate the yogurt when you get the thickness you want.


Now to make the curd to go with the yogurt.  Set up a double boiler.  The bottom has a pot with a couple inches of water.  Keep an eye on the water below, check every so often to be sure it isn't boiling like crazy and you definitely don't want to run out of water.  It should be a nice rolling boil.


The top has a heat safe bowl. For the curd I followed the recipe in the book.  Equal parts (1/2 cup) lemon juice and sugar plus 3 eggs.  The recipe calls for fresh lemon juice and zest.  I used bottled and it was good.  Whisk this constantly.  It will thicken and lighten in colour.


Get ready to strain your curd so it is nice and smooth.  I strained into a measuring cup because I wanted to put a curd layer in the bottom of serving bowls and put yogurt on top.  The measuring cup has a spout for easy pouring.


Once your curd has stopped thickening, cook for several more minutes to be sure the eggs are cooked and then strain the curd.


Pour into waiting bowls, cover and refrigerate until completely cooled.  If you don't have bowls with lids use plastic wrap and place the plastic wrap right on the surface of the curd before cooling to avoid having a skin form.


Once your curd and yogurt have chilled completely you can assemble your yogurt pots (or eat now).  I hadn't stir my yogurt at all at this point so it appears lumpy.


Once you stir the yogurt it gets smooth and creamy.  Don't mind the raspberry seeds.


See how smooth and rich these look?  They are not very rich as all but they do have a creamy texture and very mild tang.


The curd was very tart and slightly sweet.  It was very nice.  I found that about 1/3 curd to 2/3 yogurt was nice.  Phoenix liked more yogurt and less lemon.  Play around and find your perfect mix.  I also liked to dig to the bottom with every spoonful to get just a bit of curd and mostly yogurt on every bite but Phoenix liked his mixed up.  


This experiment was very satisfying!  I have very small canning jars that I put the rest of the curd and yogurt in and have been sending them to school in Phoenix's lunch.  We have been eating them for breakfast and snacks as well.  This recipe would have made 8 of these small sized jars.  I ended up splitting the ones I made at first in half as it was too big of a serving for one person unless you REALLY like lemon yogurt.


Also, if you like how your yogurt went, be sure to keep back 1/4 cup (or one pot) to make the next batch.  Your yogurt should keep for about a week in the fridge.